Adding a new display method and widget to {detourr}
Source:vignettes/adding_a_new_widget/adding_a_new_widget.Rmd
adding_a_new_widget.Rmd{detourr} relies heavily on the HTMLWidgets package, which allows us to define visuals using javascript and CSS. Each of these visuals is referred to as a widget, and the {detourr} package allows for new widgets to be added independently of existing ones.
There are several reasons why HTMLWidgets and Javascript are used, for example:
- Javascript, HTML, and CSS are portable. They can be used with any browser, RStudio, Shiny, and RMarkdown.
- Perfomance of animations in JS is good, especially when using HTML Canvas elements. This means we can get smooth animations and display large datasets.
- It’s easy to build interactive elements in JS
- A large range of JS visualisation libraries can be used
Rather than writing javascript code directly, {detourr} widgets are written in typescript (TS) which is then transpiled in to javascript when the package is built. Typescript is used because it makes the code easier to read, and prevents a range of runtime bugs by type-checking the code.
Prerequisites
To set up the project for development, you’ll need to install node.js and yarn.
Then after cloning this repository, open the terminal and install the node.js dependencies with:
Then bundle the typescript code and install {detourr} using:
Creating a widget
To get started, we’ll first create a new file srcts/hello_world/index.ts with the following contents:
export class HelloWorld {
  private containerElement: HTMLDivElement;
  private message: HTMLHeadElement;

  constructor(el: HTMLDivElement, width: number, height: number) {
    var h = document.createElement("h1");
    var t = document.createTextNode("Hello, world!");
    h.appendChild(t);
    this.message = h;
    this.resize(width, height);
  }

  public renderValue(inputData: any) {
    document.body.appendChild(this.message);
    console.log(inputData);
  }

  public resize(width: number, height: number) {
    console.log("Width: ", width, ", Height: ", height);
  }
}
Here, the HelloWorld widget is created as it’s own class with two public methods: renderValue and resize. The renderValue method takes an argument inputData, which will contain all the data passed from R to our widget including any configuration we need, our data set, and the sequence of projection matrices representing the tour path.
At the moment, all we are doing is logging the data to the browser console. This will will allow us to explore it’s structure when it’s up and running.
Bundling the widget
The HTMLWidgets package can’t deal with this typescript code as-is, so we need to modify our webpack configuration so that it gets transpiled to javascript and bundled when the package is built.
This only requires a small modification to the webpack/package.config.ts to include our TS code as an additional entrypoint:
webpack/package.config.ts:
const path = require("path");
const webpack = require("webpack");

module.exports = {
  mode: "production",
  entry: {
    "show_scatter_2d": "./srcts/show_scatter_2d/index.ts",
    "show_scatter_3d": "./srcts/show_scatter_3d/index.ts",
+   "hello_world": "./srcts/hello_world/index.ts",
  },
  ...
Now, when we build and install our package using yarn run build, a file hello_world.bundle.js is created in the inst/htmlwidgets/lib folder alongside the existing bundles.
Adding the configuration and javascript bindings
The steps in this section are very similar to the general example in the htmlwidgets documentation, so we will gloss over many of the technical details here.
In short, we require two files for our widget to work: inst/htmlwidgets/hello_world.yaml which contains the configuration, and inst/htmlwidgets/hello_world.js which contains the javascript bindings.
First we’ll set up the configuration file inst/htmlwidgets/hello_world.yaml:
dependencies:
  - name: hello_world
    src: htmlwidgets/lib/
    version: 0.1.0
    script:
      # these are specified in the order they should load
      - runtime.bundle.js
      - hello_world.bundle.js
Notice the inclusion of runtime.bundle.js. This contains the webpack runtime, and our code won’t run without it. Any external packages that your widget loads will be bundled separately as well, so we need to include them in this file above the main bundle.
For the javascript binding, we need to create the file inst/htmlwidgets/hello_world.js. Because we implemented our widget as a typescript class with renderValue and resize methods, the contents of the javascript binding can remain quite simple even as the widget itself becomes more complex:
inst/htmlwidgets/hello_world.js:
HTMLWidgets.widget({

    name: "hello_world",
    type: "output",

    factory: function (el, width, height) {
        let widget = new hello_world.HelloWorld(el, width, height);
        return {
            renderValue: function (x) {
                widget.renderValue(x);
            },
            resize: function (width, height) {
                widget.resize(width, height)
            },
            s: widget
        }
    }
})
Adding the display method in R
Here we create the R binding for the show_hello_world function. This is simply a function that takes a detour object and returns an HTML Widget. In this example, we’ve also included a ... argument so that we can pass parameters through to htmlwidgets::createWidget, and included some sensible defaults for the widget sizingPolicy.
R/show_hello_world.R:
#' Display Hello World Example
#'
#' Note that these comments will be converted in to documentation by the
#' {roxygen2} package when we run `yarn run build`. As such, the `@export`
#' below is necessary, or else this function won't be made available to the
#' user
#' @param d a `detour` object
#' @param ... additional arguments to pass to `htmlwidgets::createWidget`
#' @export
show_hello_world <- function(x, ...) {
  dots <- list(...)
  htmlwidgets::createWidget(
    name = "hello_world",
    as.list(x),
    sizingPolicy = htmlwidgets::sizingPolicy(
      viewer.padding = 0,
      viewer.paneHeight = 500,
      browser.fill = TRUE,
      knitr.defaultWidth = 800,
      knitr.defaultHeight = 500
    ),
    package = "detourr",
    width = dots$width,
    height = dots$height
  )
}
All the values in the detour object d are passed through to the hello_world widget’s renderValue method. This includes the tour path, data, and some basic configuration. Any configuration specific to this widget can be appended to the detourr object before the widget is created.
Trying it out
Now the hard part is done, we need to bundle everything together and install the package:
And then test out the widget in R:
library(detourr)
detour(tourr::flea, tour_aes(projection = where(is.numeric))) |>
  show_hello_world()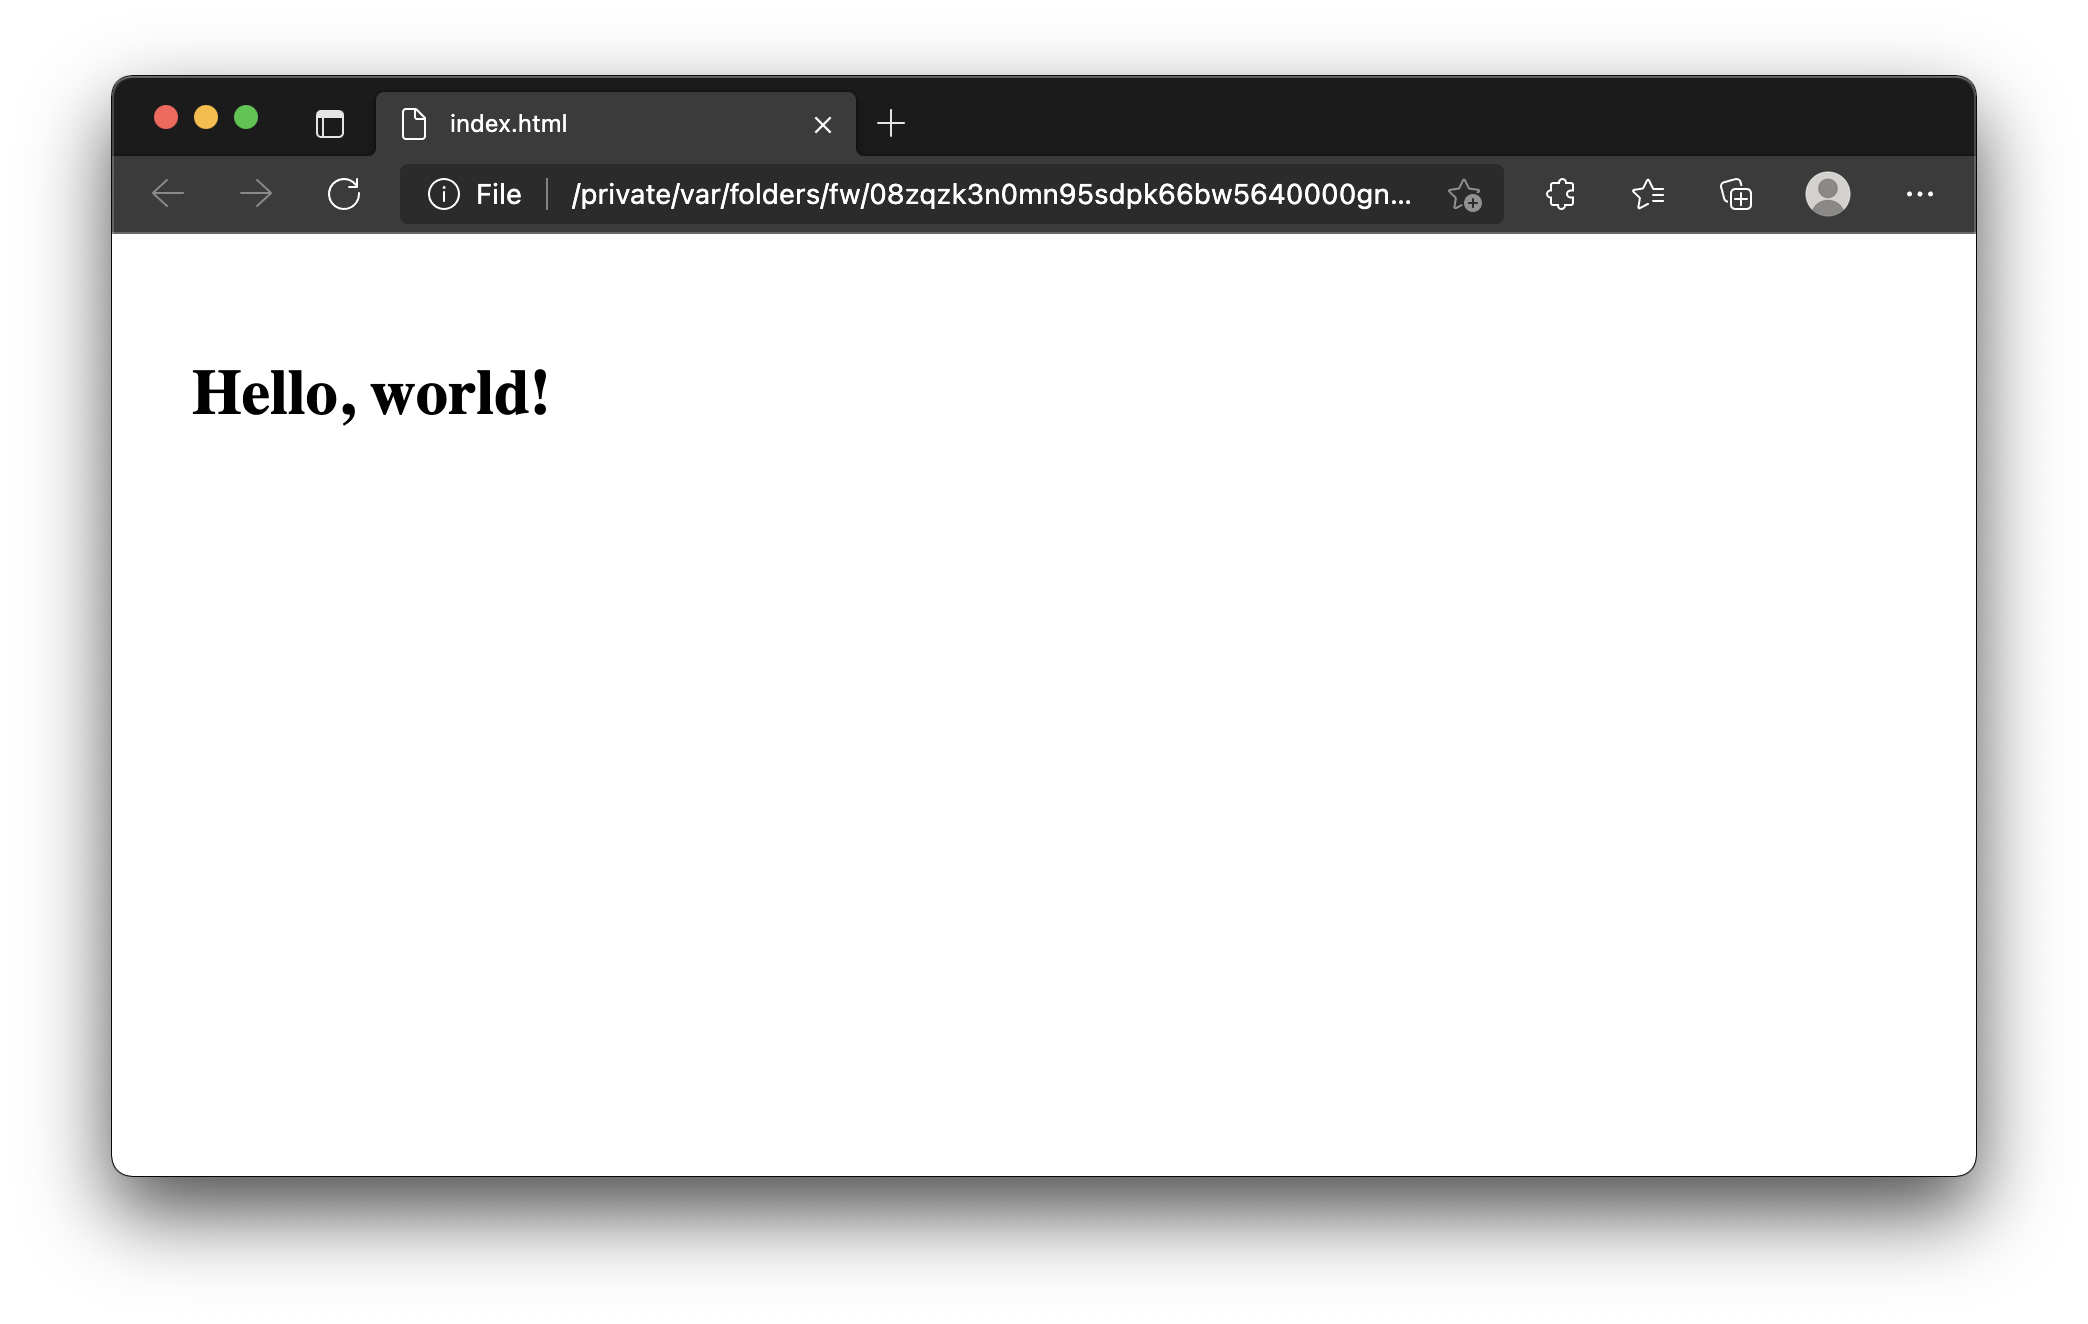
Success!
If we open up the browser console, we can see the full structure of the data set which is passed in to our widget. We can add additional configuation and aesthetic mappings as we need them by modifying the show_hello_world function:
